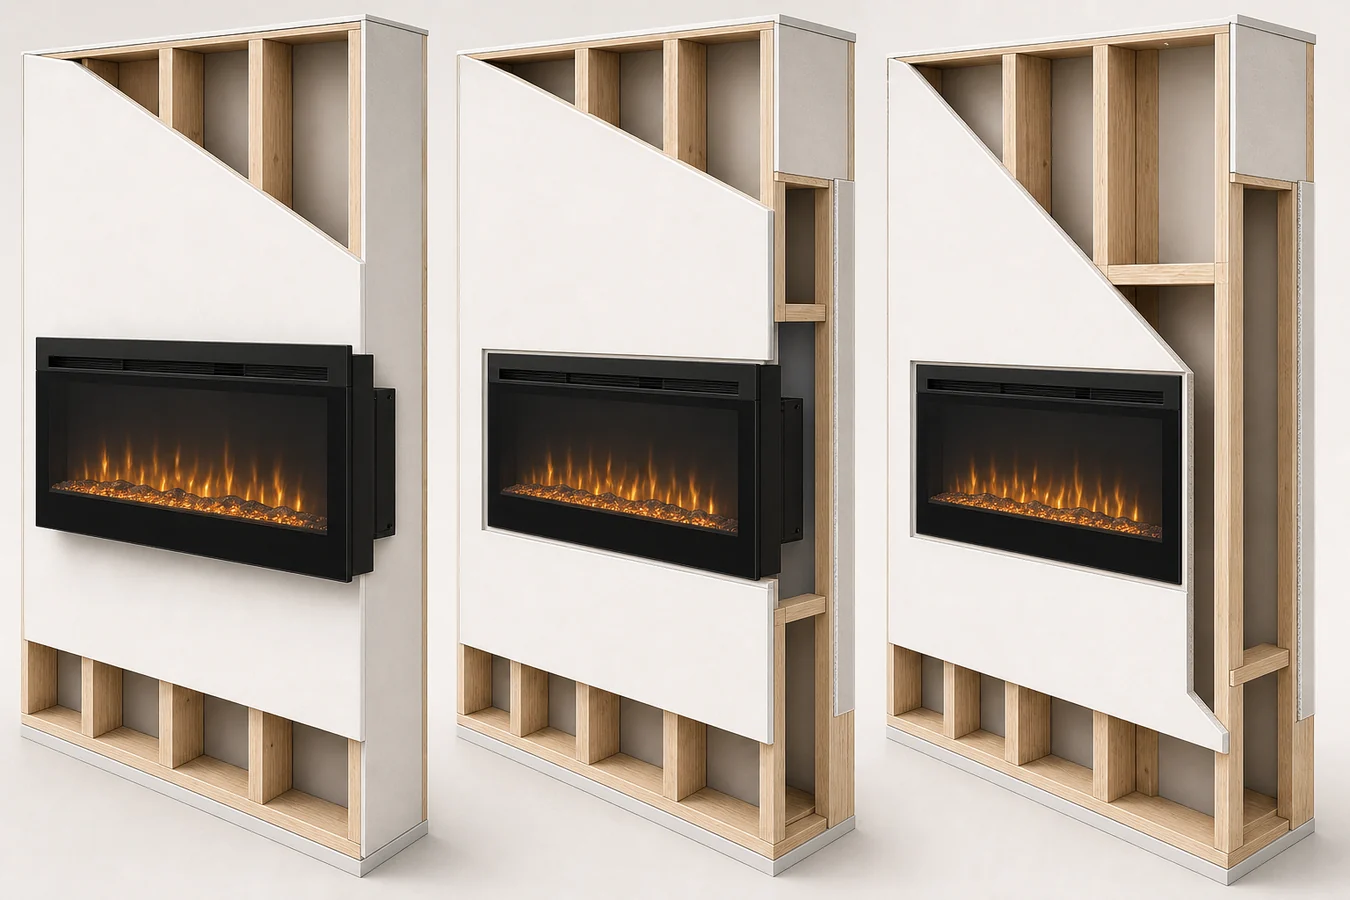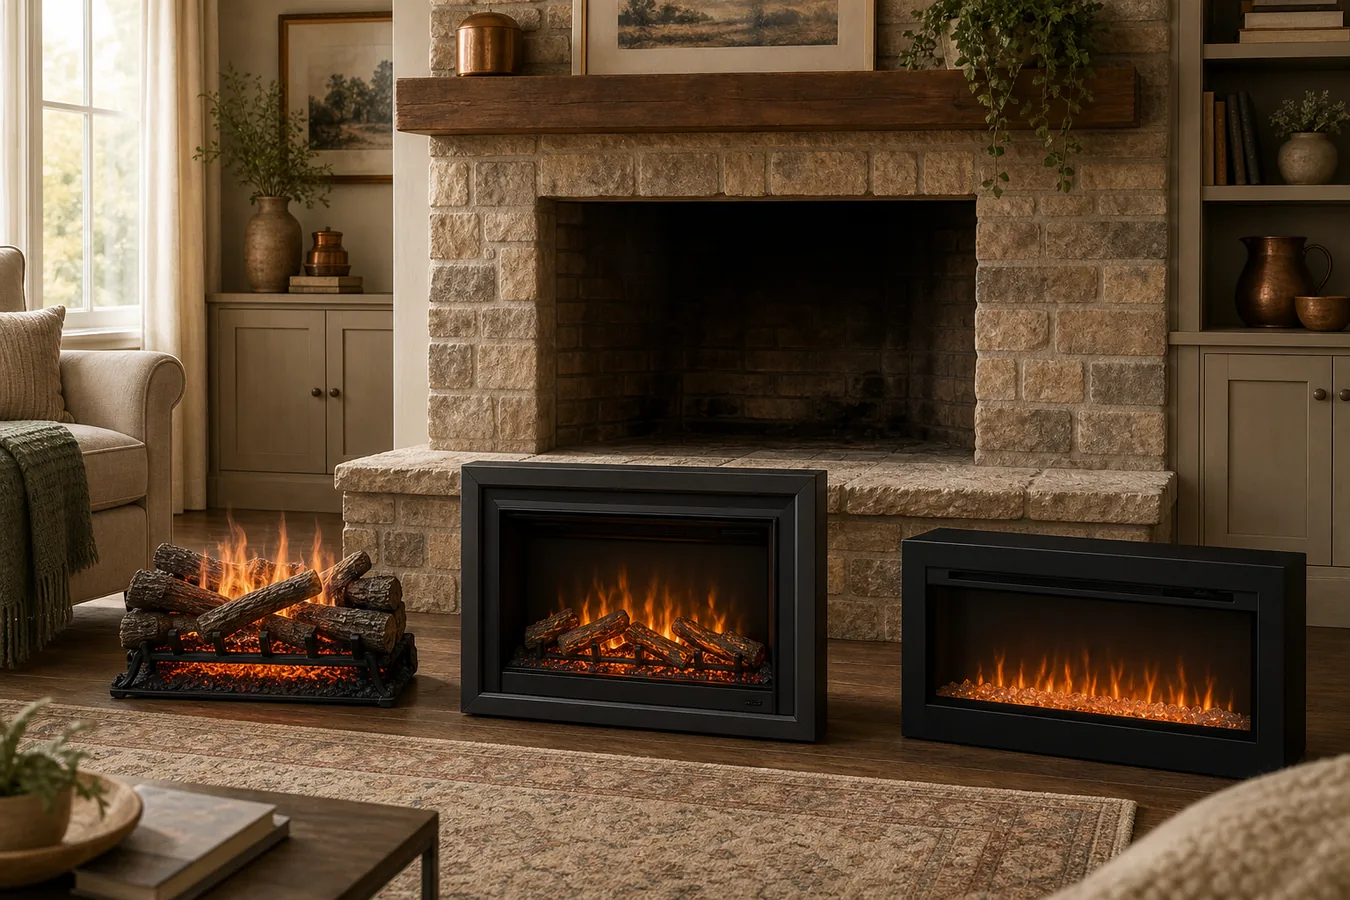
The size in an electric fireplace’s name is not enough to tell you whether it will fit. A “24-inch” insert can have one measurement for the body, another for the opening it requires, and a larger one for the face or trim you see after installation.
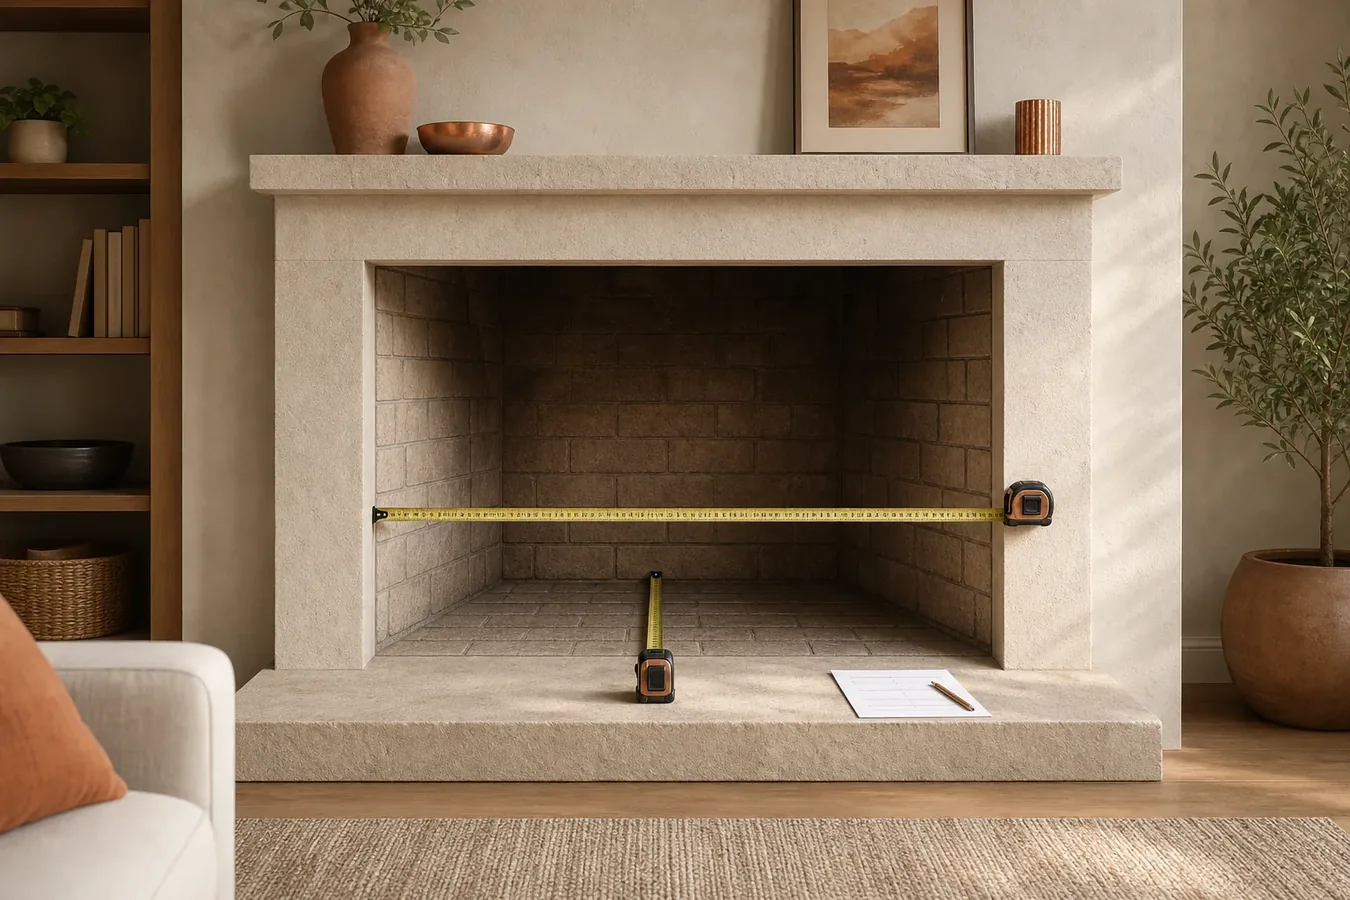
Start with the fireplace opening, not the product list. Measure the narrowest usable width, the lowest usable height and the depth before the first obstruction. Then compare those numbers with the drawing for one exact model.
Measure the opening as if it is not square
Older masonry openings often taper toward the back. A raised hearth, damper, outlet, stone edge or patch of uneven mortar can also steal space from an otherwise generous opening. One width and one height can miss the point that actually controls the fit.
Take width measurements near the top, middle and bottom of the front opening. Repeat the measurement farther back, around the depth where the insert body will sit. Measure height on both sides, then check depth on the left, center and right. Stop the tape at the first fixed obstruction rather than measuring through space the appliance cannot use.
| Write down | Where to measure | What can catch you out |
|---|---|---|
| Front width | Top, middle and bottom | An uneven stone edge or an opening that is out of square |
| Rear width | At the back and at any obvious taper | A body that enters the front but binds farther in |
| Height | Left and right; front and rear if the floor changes | A raised lip, sloping floor or low corner |
| Usable depth | Left, center and right | A damper, outlet, ledge or cable route |
| Visible opening | Across the finished stone, tile or surround | A trim kit that fits the appliance but does not cover the gap |
Use the smallest usable reading as your first screening number, but keep all the measurements. The location of a narrow point matters when you compare it with the shape of the insert body. The Home Depot’s insert guide also asks for front and back width, front and back height, and depth rather than assuming the cavity is a perfect rectangle. See its fireplace-opening measurement guide.
Do not mix up the body, opening and trim
Product pages use similar-sounding labels for different parts of the fireplace. Copy the label as well as the number. If you write down only “24 inches,” it is easy to compare the wrong measurement later.
- Overall or product dimensions may include the face, controls or another external part.
- Firebox or body dimensions usually describe the part that enters the opening, but the product drawing decides exactly what is included.
- Rough-opening or framing dimensions describe the prepared space required for a particular installation method.
- Viewing area is the visible glass or flame area. It is not the size of the cavity you need.
- Face, surround or trim dimensions tell you how much of the finished opening may be covered. They do not show whether the body fits behind it.
A useful shortcut is to ask two separate questions: “Can the body enter and sit in the opening?” and “Will the face or trim cover the finished edge?” A yes to one does not answer the other.
One insert can have four different sets of dimensions
The Touchstone Fireplug 80070 is a good example. On July 23, 2026, its product page listed the following measurements for the same named insert:
| Label used by the manufacturer | Published dimensions | How to use the number |
|---|---|---|
| Fireplace dimensions | 24 W × 19 H × 7 7/8 D in. | The overall product envelope under that label |
| Firebox dimensions | 22 7/16 W × 18 H × 7 1/2 D in. | The part described as the firebox |
| Rough-opening dimensions | 22 3/4 W × 18 1/2 H × 8 D in. | The prepared opening for the documented setup |
| Optional trim coverage | 24 × 19, 26 × 20, or 30 × 22 in. | The largest visible opening covered by each listed trim option |
The numbers are close enough to look interchangeable at a glance, but they answer different questions. Check the current Touchstone Fireplug 80070 product information before using them for a purchase; this example is not a universal allowance for other inserts.
Screen one exact model at a time
Once you have the opening record, choose one exact model number and keep its product page, dimension drawing and manual together. Do not combine the body size from one version with the trim kit or instructions for another.
- Can the body reach its final position? Compare the product shape with every narrow point and with the route into the cavity. A roomy rear section does not help if the unit cannot pass the front edge.
- Does the room meet the required-opening dimensions? Use the manufacturer’s figure for the installation method you plan to use. An overall width or viewing area is not a substitute.
- Will the finished face look intentional? Compare the visible opening with the included face or a trim option made for that exact model.
- Does the rest of the drawing work in this room? Look at the power connection, heat outlet, fastening points and service access. These details can rule out a model even when its body dimensions fit.
If one of those details is absent from the listing, go to the current manual or ask the manufacturer for the exact drawing. Do not fill the gap with a measurement from a similar-looking model.
Three opening shapes that need extra care
A tapered masonry firebox
The front may accept a wide face while the rear is too narrow for the body. Record the rear width and how far it sits from the front, then compare that point with the body drawing.
An arch or uneven top
The maximum height in the center is not the usable rectangular height. Measure the lowest point across the full width the insert must occupy. Treat trim coverage as a separate appearance question.
A framed recess that is not finished yet
Drywall, tile, backer board and an outlet box can reduce the final cavity. Compare the planned finished opening—not only the bare framing—with the instructions for the model.
Keep a short fit note beside every candidate
For each model, save the exact model number, the smallest opening measurements, the manufacturer’s body and required-opening labels, the face or trim coverage, and any obstruction that affects the insertion path. Add the product drawing or manual you used.
If the body is larger than the usable space, remove the model from the shortlist. If the numbers fit but the trim, power location or installation drawing does not match the room, pause before ordering. The best-fitting insert is not the one with the largest advertised number; it is the one whose body, required opening and finished face all work with the measurements in front of you.