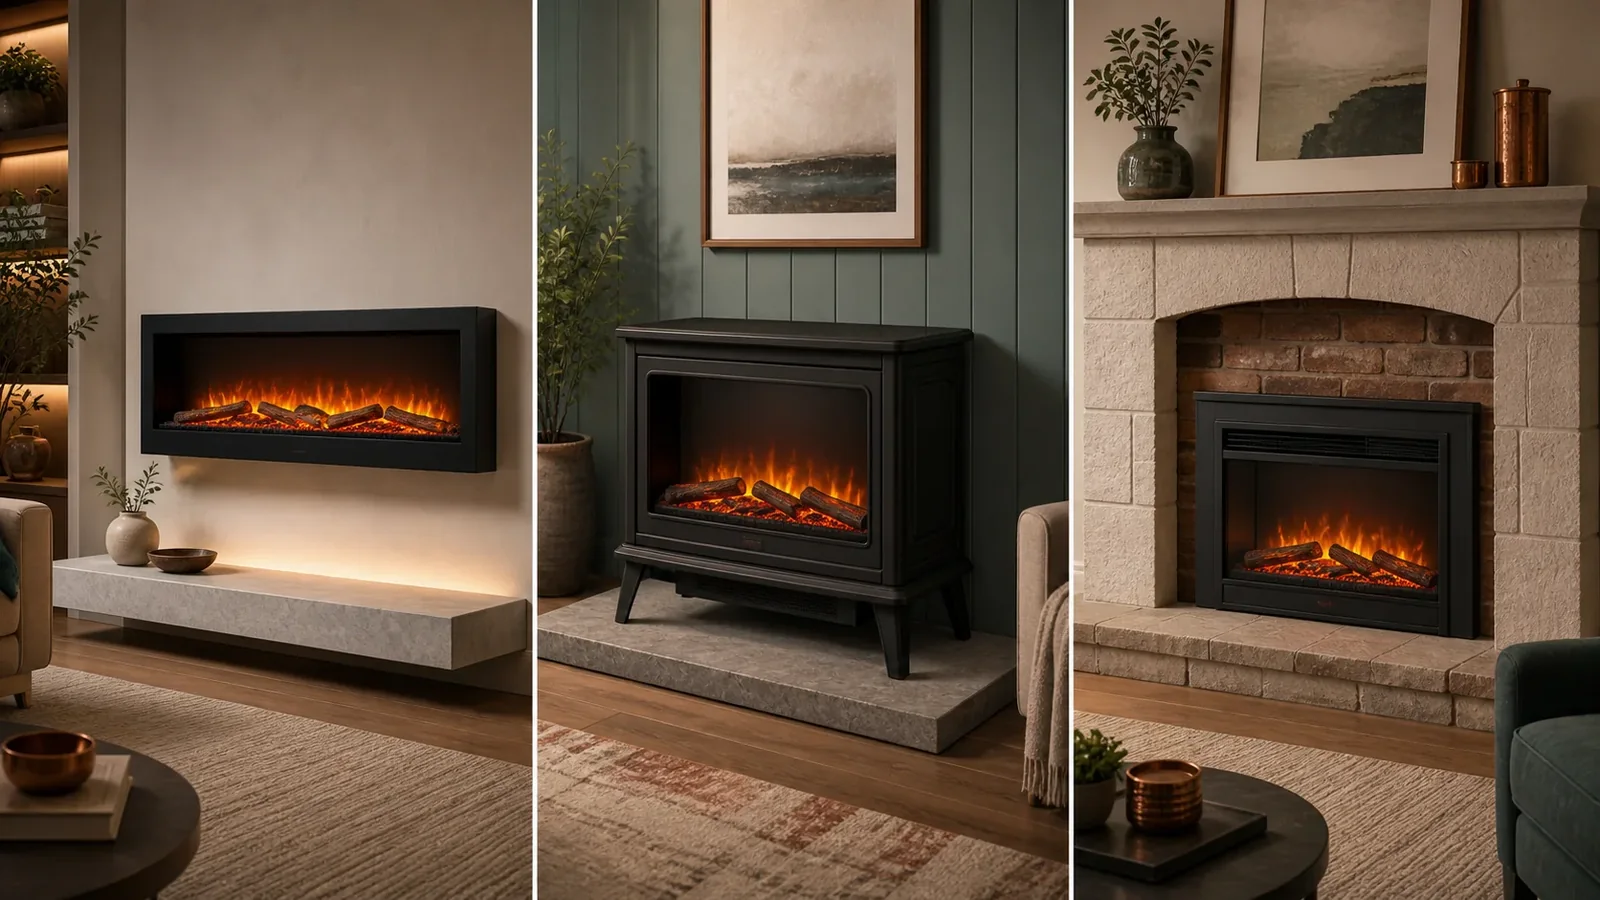
“Wall mount or recessed” is a menu of possible installation methods, not permission to use either one in your room. The exact model may support surface mounting, partial recess, full recess—or only some of those paths. Its current manual decides what remains on the table.
A surface-mounted fireplace keeps the appliance body in front of the finished wall. A partial recess hides only the depth defined by the manufacturer. A full recess places the body in a deep enough framed opening so the face sits close to the finished surface. None is automatically better. The useful choice is the shallowest documented path that gives you the finish you want without creating an unresolved wall, power, airflow or service problem.
The manual chooses the available paths
Marketplace titles compress several decisions into phrases such as “recessed wall-mounted electric fireplace.” They can help you find candidates, but they do not define the installation contract.
Before comparing appearance, find the exact model number and current installation document. Look in its table of contents and drawings for the method names the manufacturer actually uses: wall mounted, partial recess, fully recessed, built-in or another clearly defined term. If the method is absent, remove that path from the shortlist. Do not borrow permission from a similar width, an older manual or another model in the same series.
Touchstone’s 86273/86275 manual, for example, contains separate recessed and wall-mounted procedures. Modern Flames’ ORION MULTI manual separates built-in, partial-recess and wall-mounted procedures. Those examples prove that multiple methods can exist; they do not prove that every slim fireplace supports all three.
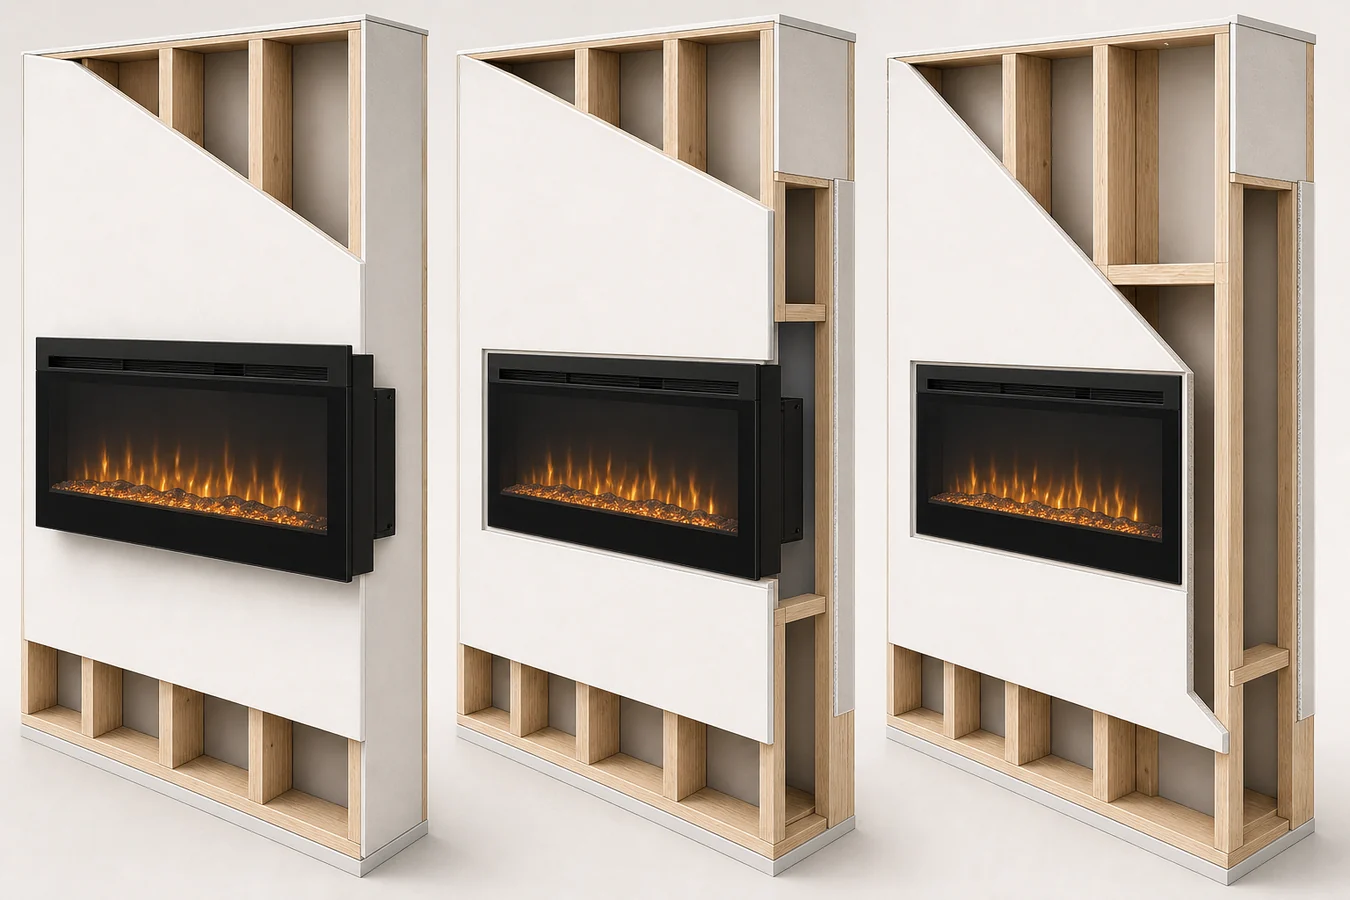
Three paths from the side
The visible difference is front projection. The project difference is how much of the wall, power path and finish becomes part of the appliance installation.
| Path | Eligible only when… | What the wall must provide | Finished result | Future change |
|---|---|---|---|---|
| Surface mount | The exact manual lists a wall-mount method | The documented fastening surface and an approved power path; no fireplace-depth cavity | The full appliance body sits proud of the wall | The unit and bracket can be removed, but fastening holes and power work may still need repair |
| Partial recess | The exact manual defines a partial-recess method | The method-specific finished opening depth, fastening, trim and power arrangement | Some body depth is hidden; some projection remains | Removal can disturb the framed opening, trim and concealed power path |
| Full recess | The exact manual lists full recess or built-in for that model | The full method-specific framing depth plus required clearances, finish and service access | The face is nearly flush or integrated with the wall | The appliance is tied most closely to the enclosure and finished surface |
Surface mounting is not “no installation,” and full recess is not automatically more professional. A well-supported surface mount that follows its drawing is a complete installation. A flush face that blocks an outlet or cannot be serviced is not.
Let finished depth narrow the choice
Start with the model’s documented methods, then compare the wall with the drawing for each method still allowed.
- Write down the exact label used by the manufacturer. “Overall depth,” “framing depth” and “finished-opening depth” may describe different things. Keep the label attached to the number.
- Record the depth that will actually be usable. Drywall, tile, backer, an electrical box, framing details or another fixed obstruction can change the finished cavity. If you need a reliable opening record, use the electric fireplace insert size guide before screening models.
- Compare like with like. A partial-recess framing figure belongs to the partial method. Overall appliance depth is not a substitute for a required-opening dimension.
- If the cavity is too shallow, do not improvise. Keep surface mounting if the manual allows it, choose a model with a documented shallower path, or redesign the wall. “Push it in as far as it fits” is not a fourth method.
- Treat a bump-out as new project depth. It can create room for a partial or full recess, but it also changes floor projection, finish work, power routing and future removal. It does not erase the manual’s requirements.
The result may be counterintuitive: the model that looks thinnest in a product photo is not necessarily the model with the shallowest approved finished opening.
Partial recess is not “as far as it fits”
Partial recess deserves its own decision because it can look like an informal compromise. In a real manual, it is a defined installation with its own depth and hardware arrangement.
The Dimplex BLF3451 specification lists a 3 1/2-inch framing depth for its partial-recess method and 7 1/4 inches for its fully recessed method. The appliance itself is listed at 7 inches deep. Those figures belong only to BLF3451 and show why appliance depth and installation depth cannot be swapped casually.
The Modern Flames ORION MULTI manual gives its named models a minimum 2 5/8-inch partial-recess depth, then calls for the partial-recess flange/trim arrangement, additional finishing construction and the documented power connection. Again, that is a model-family procedure, not a universal 2 5/8-inch allowance.
If your candidate has no partial-recess section, a shallow wall does not create one. The honest choices are surface mount, a different documented model, or a deeper enclosure.
The drawing can veto the prettier option
Depth is only the first filter. Five details can overturn a visually attractive path.
The wall still has to carry the installation
A surface-mounted unit needs the bracket and fastening arrangement shown for that model. A recessed unit needs the framed support shown in its drawing. If the wall type, load path or proposed opening is unclear, stop before cutting or buying. The answer belongs to the exact site conditions and applicable building requirements, not to a generic comparison chart.
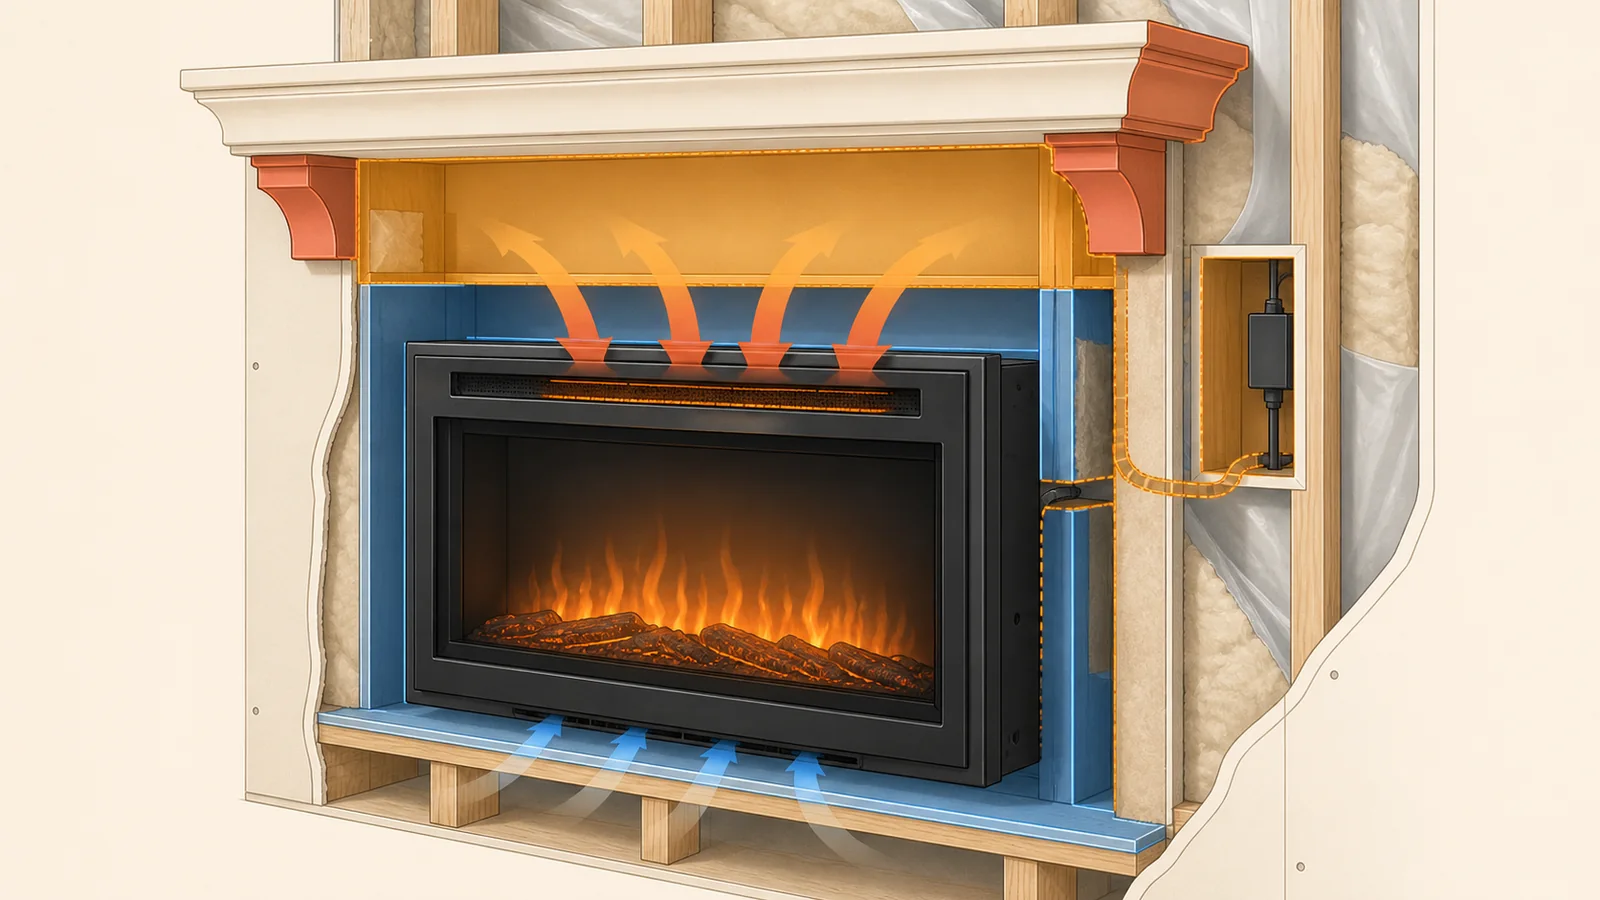
Power is part of the chosen method
Do not assume a nearby receptacle solves every path. One model may allow a cord and grounded outlet; another method or model may require a dedicated circuit or hardwiring. Concealing a cord inside a wall is not an editorial shortcut. Use the current electrical section and have site-specific electrical work handled to the applicable requirements.
The heat outlet and air path must stay open
Locate the heater outlet and air intake in the drawing. Finish material, a mantel, trim or a deep recess can change what is exposed around the face. Napoleon’s Allure Series manual explicitly says finishing materials must not interfere with airflow or service access and that clearances must be observed. Other model families can route air differently, so copy the rule—not the clearance—from the right manual.
Glass, controls and service need a route
A nearly flush face can still be wrong if the front glass cannot be removed, the touch controls are covered or a service panel becomes unreachable. Check those movements on the drawing before the finish is designed around the appliance.
Finish thickness changes the final relationship
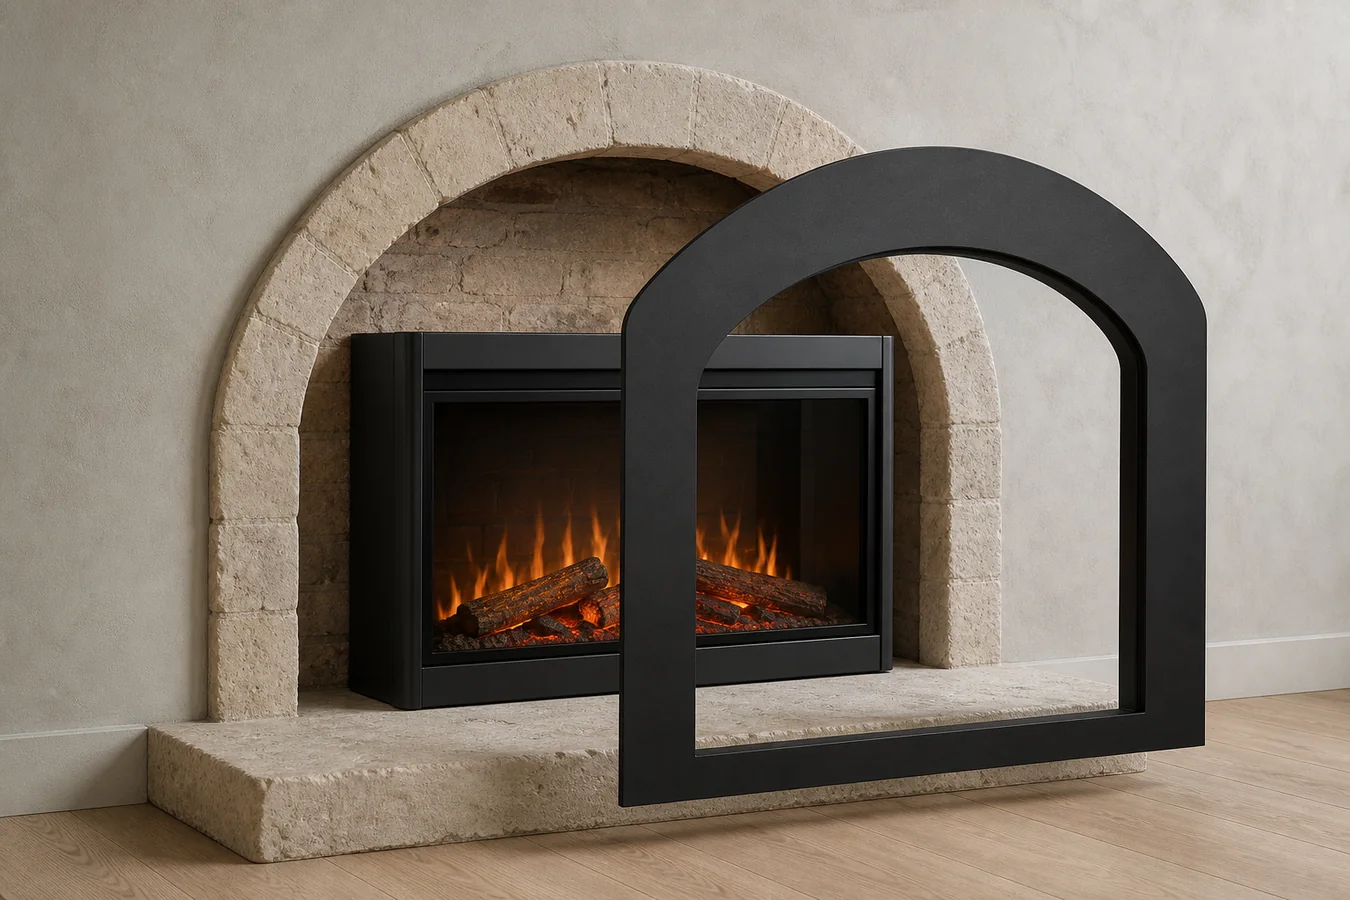
Tile, stone, wood panels and drywall returns can move the apparent wall face. Follow the manual’s finished-opening and facing details. Verify the physical unit before irreversible custom finish cuts when the manufacturer tells you to do so.
Any unresolved item above changes the result to stop, even when the depth measurement appears to fit.
Match the path to the project you will live with
You want to preserve the finished wall
Start with surface-mount candidates. You accept the appliance’s full side projection and a visible or deliberately planned power path, but you avoid building a fireplace cavity. This is often the most reversible path, not a promise of damage-free removal: the bracket, anchors and electrical arrangement still leave work behind.
You have shallow depth and want less projection
Start with models that explicitly document partial recess. Compare their partial-recess figure with the finished cavity, then inspect the specified trim, side treatment and power path. This path is useful only when the remaining projection looks intentional and the manual supports the exact assembly.
You are building a feature wall or deep enclosure
Full recess becomes reasonable when the exact model supports it, the finished opening can meet its drawing, and you accept that the appliance is becoming part of the wall project. Plan how the unit, glass and service components will come out later. A clean face today should not make ordinary service destructive tomorrow.
Put the method beside the model number
Do not leave the choice as a mood-board decision. Add one line to each candidate: exact model, manual revision or access date, documented method, required-opening label and figure, available finished depth, power path, and the one unresolved site question.
For example, the line can read: Model number — partial recess — manual figure — finished depth — power path — service path resolved or unresolved. That is enough for a manufacturer or installer to challenge the right assumption. The electric fireplace fit checker can screen an obvious width, height or depth mismatch, but it cannot approve a mounting method, wiring plan, clearance or wall change.
If you cannot complete the line from the exact document and the real wall, keep the model out of the purchase shortlist. The right path is not the deepest one you can imagine; it is the documented one your wall can support and you are willing to undo later.