A generic “cut the opening, mount the unit, connect power” sequence can be wrong before step one. An electric fireplace may hang from a bracket, sit inside a framed recess, slide into an existing firebox or rest as an open log set. Those are different relationships with the room, even when the products appear under the same category name.
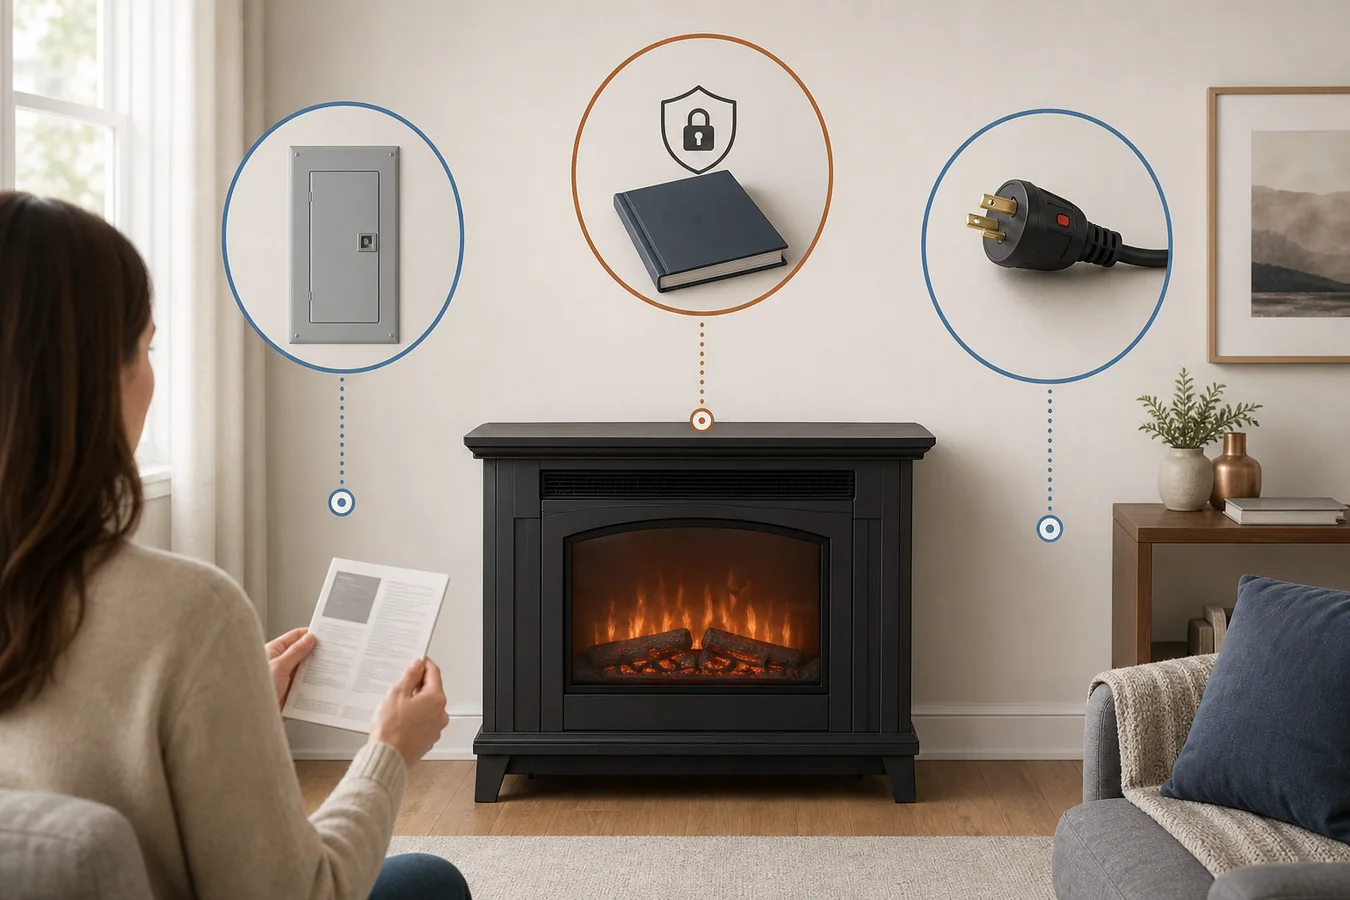
Begin with three things: the full model or item number, the current manual that explicitly covers it, and one manufacturer-approved installation relationship. Transfer only the drawing, hardware, power, airflow, finish and access instructions that belong to that relationship. A step from another model—or another section of the same manual—is not a shortcut.
If structure, electrical work or a local requirement remains open, assign that question before physical work begins. The useful outcome is not “ready to DIY.” It is one traceable path that a responsible installer, builder or electrician can review without guessing which product or instruction you meant.
Start by naming the relationship to the room
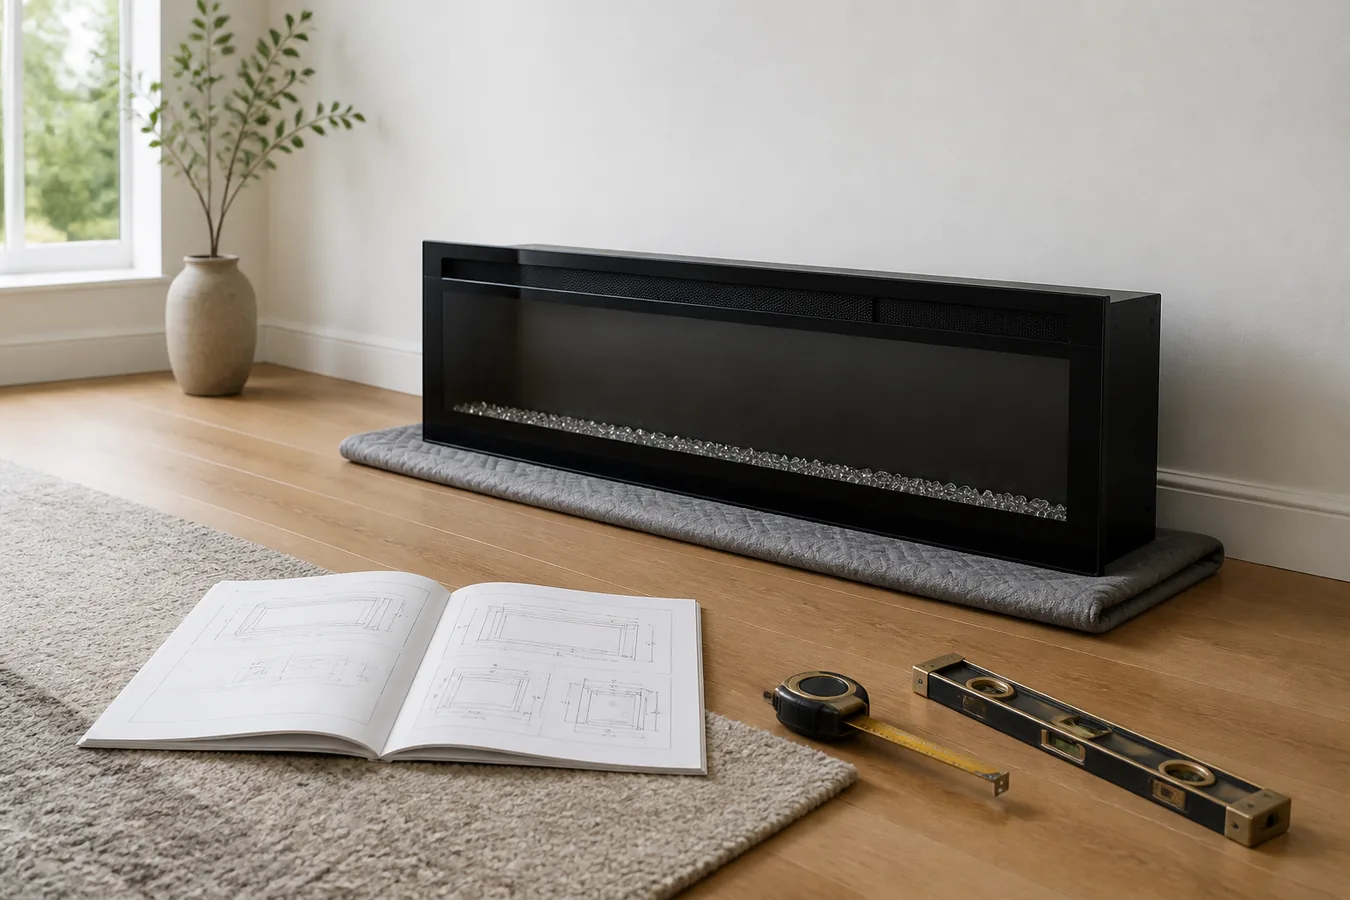
The product label does not choose the project. “Wall fireplace” can describe a unit that stays proud of the finished wall or one that the manual permits to enter a recess. “Insert” can mean a self-contained appliance placed in an old firebox, while an open log set has its own support and airflow relationship. The current Touchstone product-manual index shows why full item numbers matter: different product groups and item sets point to different documents.
Use the installation heading in the applicable manual as the switch. That heading decides which geometry and sequence are available.
| Relationship named by the exact manual | What controls the project | What should not be borrowed | First handoff if unresolved |
|---|---|---|---|
| Surface or wall mount | Bracket, approved wall support, finished projection, power-cord route, air openings and later removal | Recess rough opening, in-wall foot removal or finish-over details | Wall support and fastener acceptance |
| Recessed or built-in wall path | Rough/minimum opening, appliance body, framing/support, finish boundary, power entry and front/service access | Surface bracket assumptions or another model’s nominal width | Wall construction and electrical path |
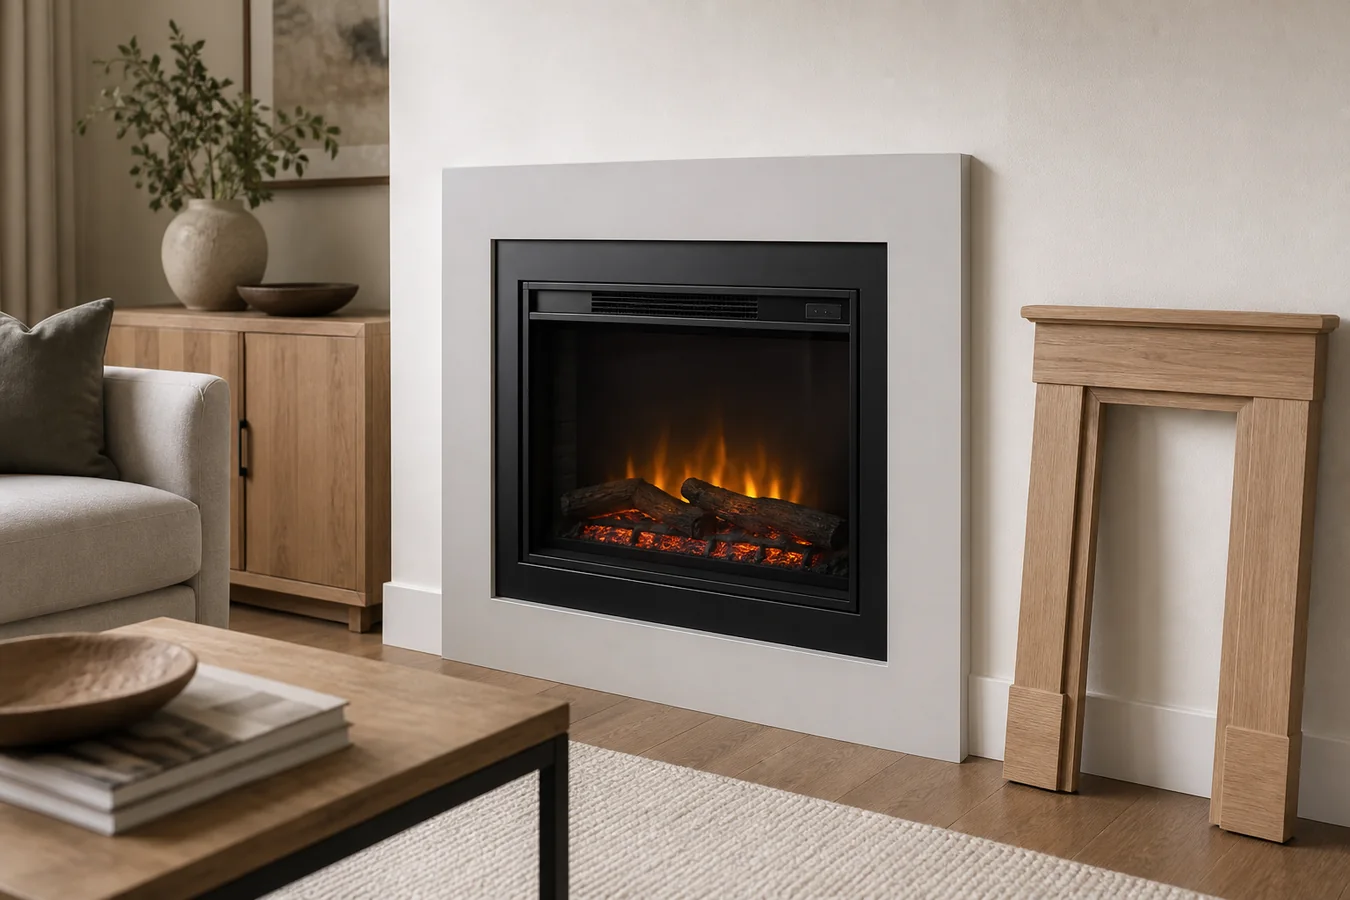
| Existing-firebox insert | Measured old opening, insertion route, leveling/support, power supply, trim coverage and front airflow | New-wall framing sequence or a log-set opening recommendation | Firebox condition, power and finish fit |
| Open log-set placement | Stable support, underside airflow, opening condition, cord route and any model-specific visual envelope | Enclosed-firebox trim, wall bracket or recessed fastening steps | Opening condition and support surface |
This table is a routing tool, not an installation approval. If the exact manual offers more than one relationship, choose the one the real room can support. The recessed-versus-wall-mounted guide handles that wall-depth choice; the wall-mounted fit guide handles the room-side fit. Once one path survives, every later field stays inside it.
One manual can contain two different installations
Touchstone’s current Sideline Elite manual rev. 20250312 covers items 80036, 80037, 80038, 80042, 80044 and 80050. That identity is useful, but it is not yet an installation path. The manual itself has separate recessed and wall-mounted sections.
In the recessed section, the controlling objects are a model-specific rough-opening table, the metal firebox, in-wall foot removal, side access, a second-person insertion step and fastening to framing studs. The wall-mounted section changes the project: it uses the supplied bracket, describes how the bracket is secured for that manual’s scope, calls for a two-person lift and ends with a stability check. One route needs an opening and framing relationship; the other needs a bracket and support relationship.
That contrast is more useful than copying either step list. It tells you what must appear in the handoff. A recessed plan should point to the exact model row and drawing, not “about 50 inches.” A surface plan should identify the supplied bracket and accepted support condition, not reuse the recess opening. If you have not chosen between those relationships, the electric fireplace specifications guide can help separate finished front, body and opening dimensions before any one number reaches the wall plan.
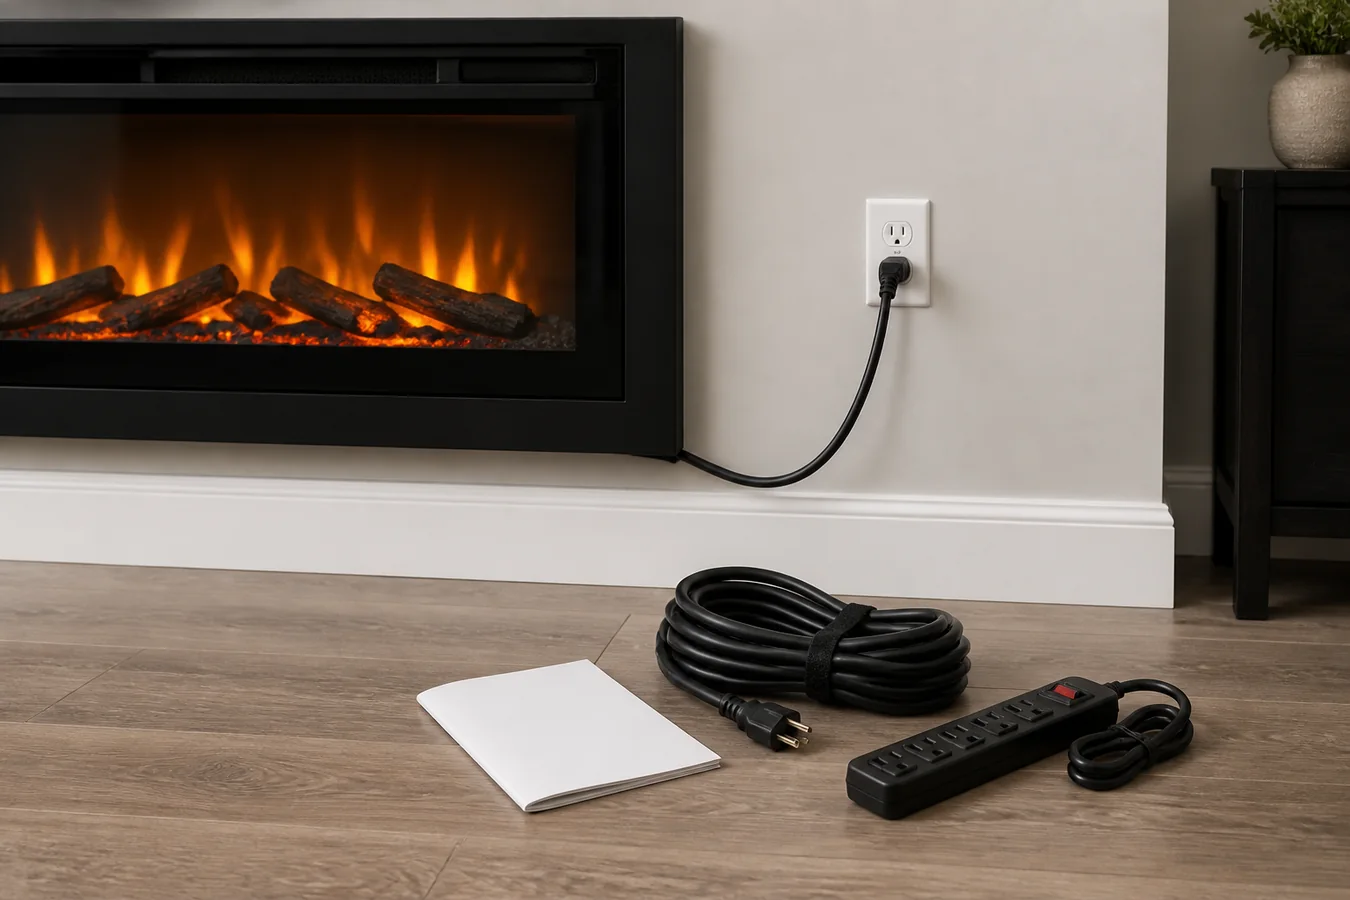
Power is another branch, not an afterthought. This particular Touchstone manual describes both a grounded plug path and a hardwire path, with hardwiring assigned to a qualified electrician. That statement belongs to the listed series and revision; it does not make every electric fireplace convertible. Use the plug-in versus hardwired comparison to freeze the exact product’s permitted connection and the real site’s electrical handoff separately from the mounting choice.
An existing-fireplace insert enters a different project
An old firebox does not turn an electric insert into a recessed-wall unit. It gives the appliance an existing enclosure, an insertion route, a hearth relationship and a finish edge that already exist. Those conditions need their own document.
Dimplex owner manual 7205650300R04 explicitly covers models DFI2309 and DFI2310. For those two models, the existing-fireplace section states a minimum opening of 24 inches wide, 21.5 inches high and 12 inches deep and says no additional venting is required. It then keeps the power-supply plan, insertion, centering, adjustable feet and optional trim in one sequence. Those numbers and relationships are useful precisely because they are narrow: they do not size another insert.
The same section also keeps front airflow attached to the finish decision. Existing fireplace screens may remain only under the manual’s stated airflow condition, while closing doors that seal the insert from the room conflict with the heater’s exhaust path. A trim kit can make the face meet the finished wall, but it does not erase the need for air movement or a usable power route.
This is where broad tutorials often become expensive. A body can fit through the opening while the cord path, feet, trim or screen relationship still fails. The existing-fireplace insert guide owns the earlier format decision and measurement record. Once that work selects an exact insert, the installation handoff should preserve the old opening as found, the manual’s minimums for that model, the leveling method, trim choice, airflow condition and unresolved firebox or electrical question together.
A log set needs placement evidence, not a framed opening
An open electric log set can occupy an existing fireplace, cabinet or media-center setting without behaving like a closed insert. Its manual may care about the visual envelope, the support under its feet and open air beneath the heater rather than a trim-covered metal body.
The current Dimplex RLG20 owner manual, revision 7214550100R06, makes that distinction concrete. For RLG20, Dimplex gives a 24″ W × 22″ H × 14″ D minimum recommendation for optimal viewing. It also calls for air circulation beneath the unit, rejects an existing opening prone to dampness, and requires a one-piece solid flat support when placed on carpet. The same exact-model section identifies it as a 120-volt, 12.5-amp, 1500-watt plug-in product.
Those facts form a placement relationship, not a smaller version of the DFI insert sequence. The RLG20 dimensions are a model-specific viewing recommendation; they do not become a rough opening for a wall firebox. Its flat-support instruction does not approve an unknown hearth condition. Its plug-in specification does not approve an existing receptacle. Each fact answers one part of the RLG20 project and leaves the real site with its responsible owner.
The distinction also prevents unnecessary construction. If the chosen product is an open log set and its documented placement path fits the intended opening, importing framing or trim steps from a closed firebox adds work without adding fit. If the room needs a sealed, trim-covered appearance instead, change the product relationship first rather than trying to make an open log set behave like an insert.
Give each unresolved field to the owner who can close it
A manual can define the product, but it cannot inspect the wall, certify the existing outlet or decide what the local authority requires for a specific project. A useful installation handoff carries the exact evidence to the person who owns the remaining decision.
| Open field | Evidence that travels with the question | Owner who can close it | Closed means |
|---|---|---|---|
| Model and manual applicability | Product label, full item number, market, manual URL/revision and the installation heading being used | Manufacturer or authorized product support | The document explicitly includes the item and the chosen relationship |
| Opening, wall or support condition | Manual drawing/table, actual measured condition, wall/firebox photos and the proposed finish boundary | Responsible builder, installer or structural professional as the condition requires | The real structure and support method are accepted for that exact path |
| Plug, outlet, circuit or hardwire route | Exact manual electrical options, product rating and planned connection location | Qualified electrician | The permitted product path and real electrical installation are accepted together |
| Air inlet, outlet and front discharge | Exact manual figure/section plus the proposed trim, screen, furniture or finish condition | Manufacturer and responsible installer | Nothing in the finished arrangement conflicts with the documented air path |
| Permit, inspection or local requirement | Exact product, installation relationship, scope of wall/electrical work and project location | Authority having jurisdiction or responsible local professional | The applicable requirement and inspection path are known |
| Future glass, media or appliance access | Manual removal/assembly sequence and the proposed finished reveal | Installer, finish contractor and owner | Normal service or removal does not require destroying an unplanned finish |
Do not send “Can I install this?” as the handoff. Send the exact conflict. For example: the manual permits a recessed path, but the proposed wall’s support condition is unresolved; or the product manual permits hardwiring, but the route and local electrical work have not been accepted. A named field produces a useful answer and preserves who supplied it.
Framing deserves its own transfer when the chosen path actually enters a wall. The electric fireplace framing guide shows how to keep the front, body and rough opening separate and how to carry finish and service access into that project. It should not be opened merely because the search query contains “install.” Surface mounts, existing-firebox inserts and log sets reach different owners first.
Stop at the first borrowed step
An installation path is ready for handoff when the exact model points to the current manual, one installation relationship is selected, and every controlling field comes from that relationship or a named site owner. “Surface-mount ready,” “recessed-path ready,” “existing-firebox insert ready” and “log-set placement ready” describe the record—not a blanket approval of the completed work.
If the model or applicable manual is missing, the result is simpler: model/manual required. If the manual path is known but a wall, firebox, circuit, finish or local requirement remains open, the result is an electrical, structural, installation or authority handoff at that field. Do not fill the gap with a dimension from a similar unit, a video step or an instruction from another section.
The practical order is now clear without pretending every fireplace shares one procedure. Identify the product. Select the relationship. Transfer only that path. Give the unresolved field to its owner. Physical installation can then follow the exact manufacturer instructions and the accepted site plan, instead of asking the room to absorb a borrowed step.