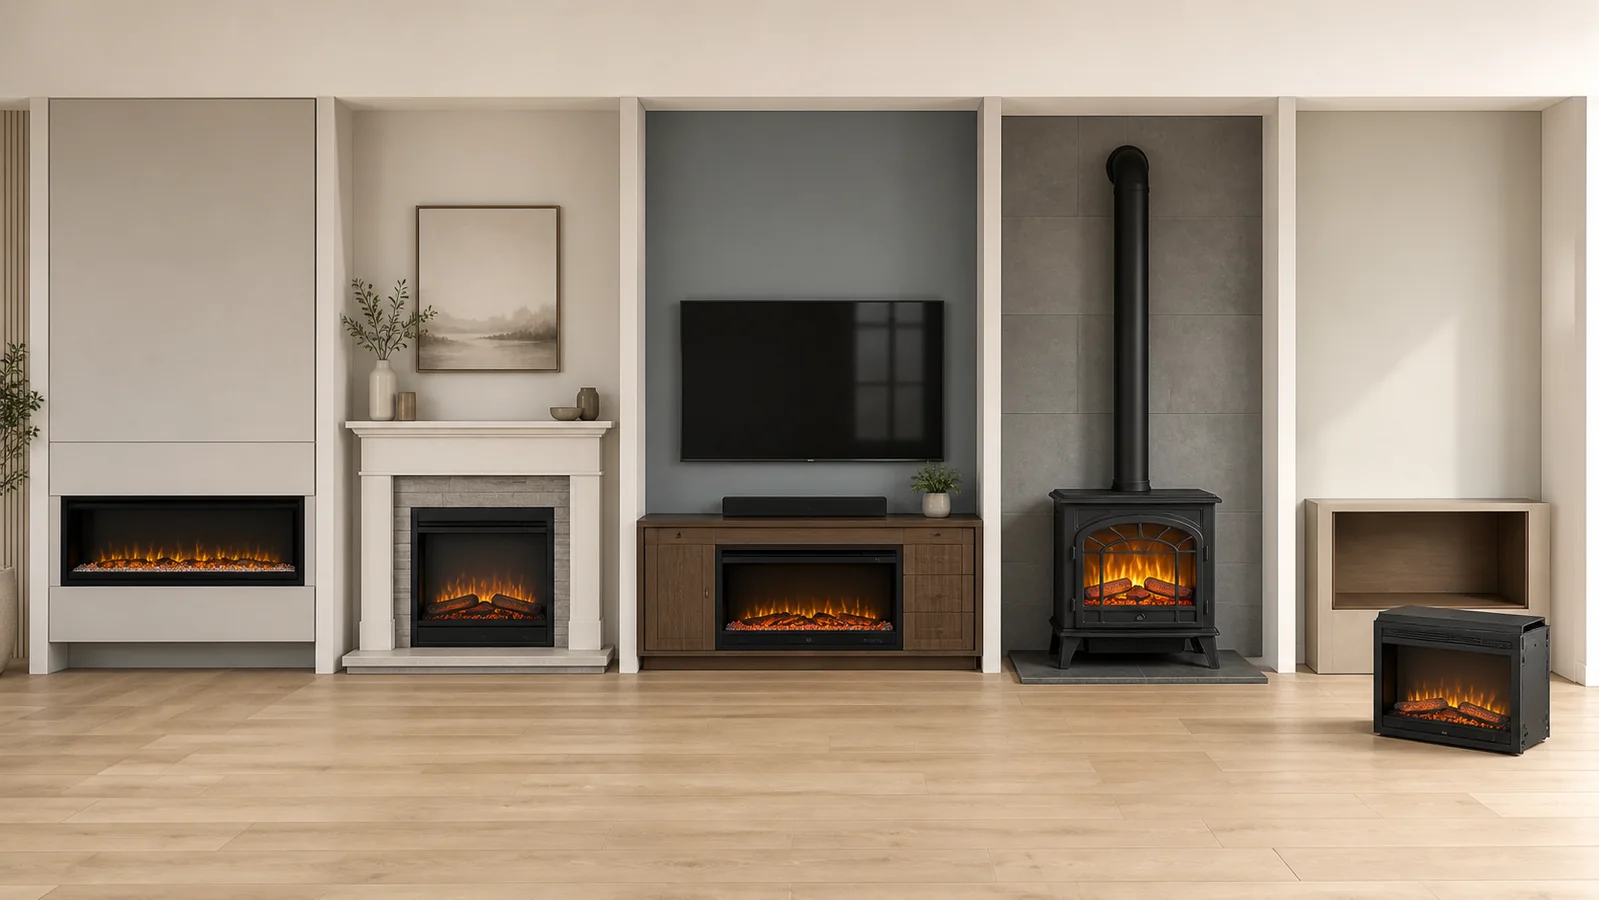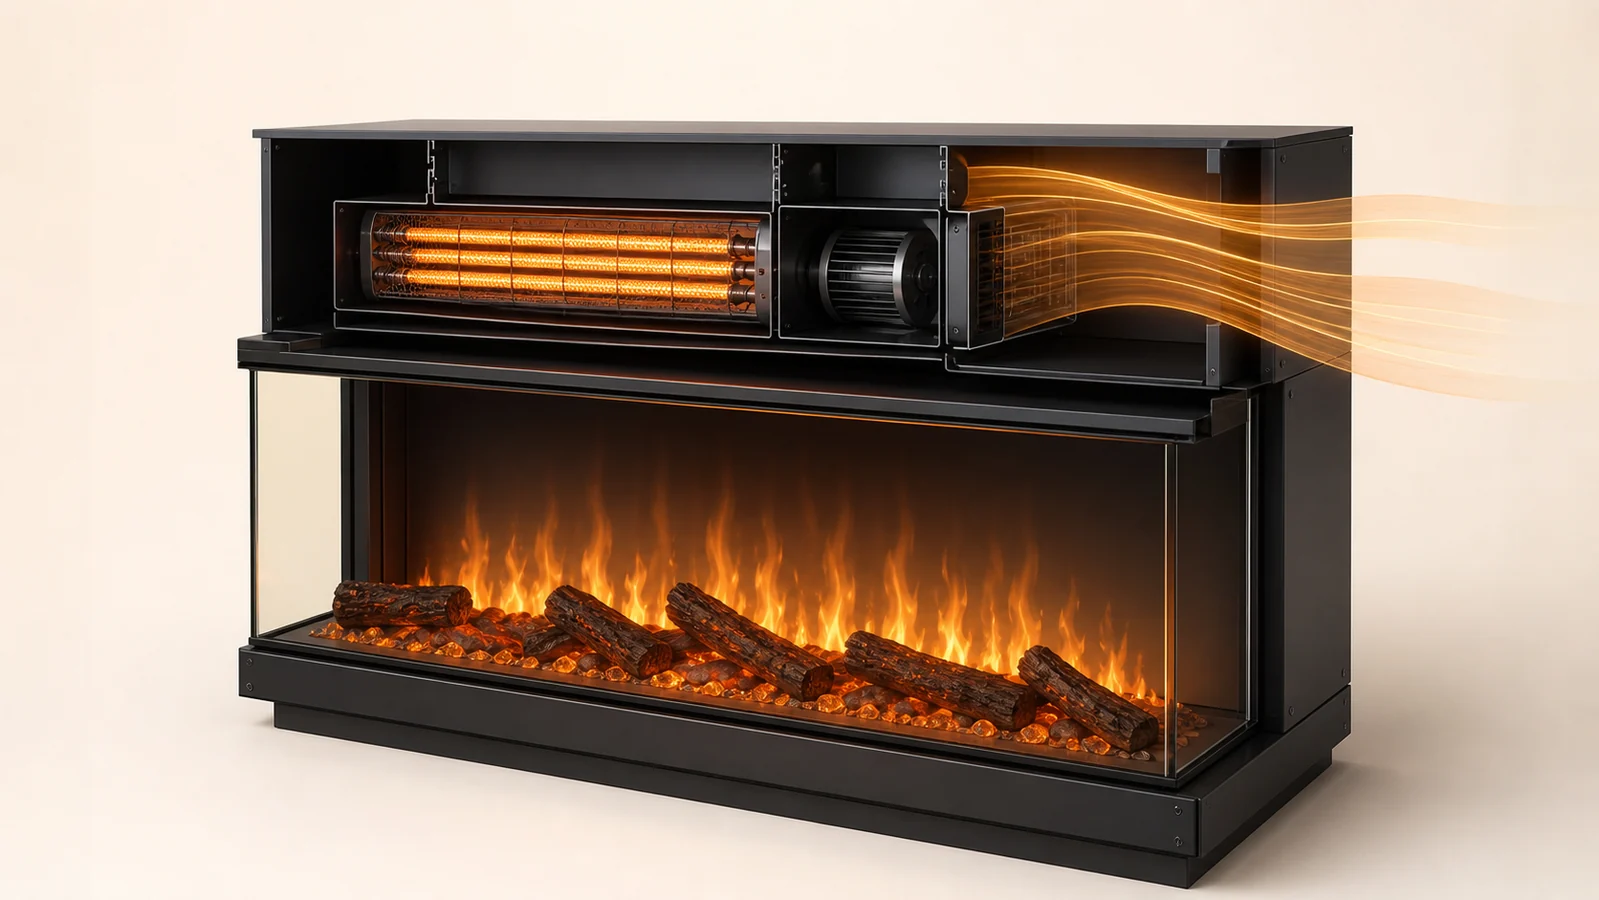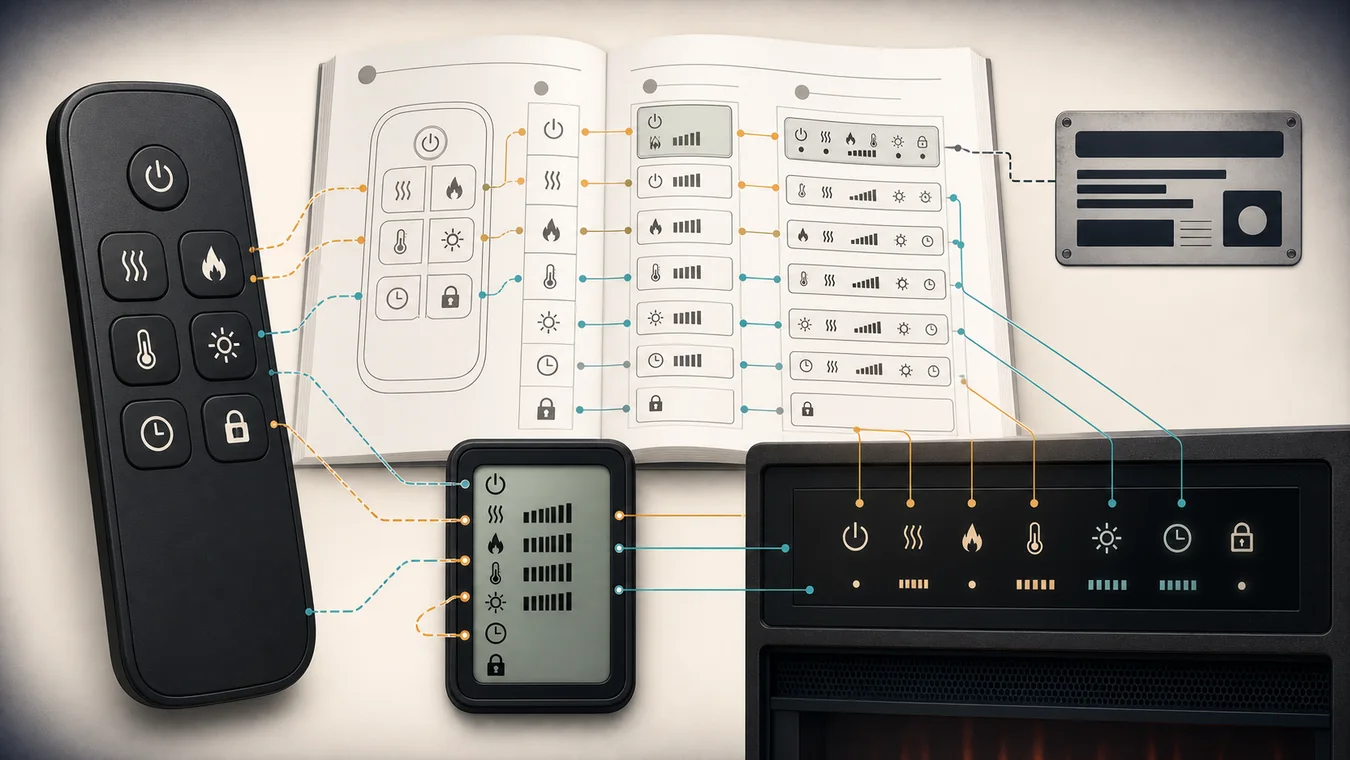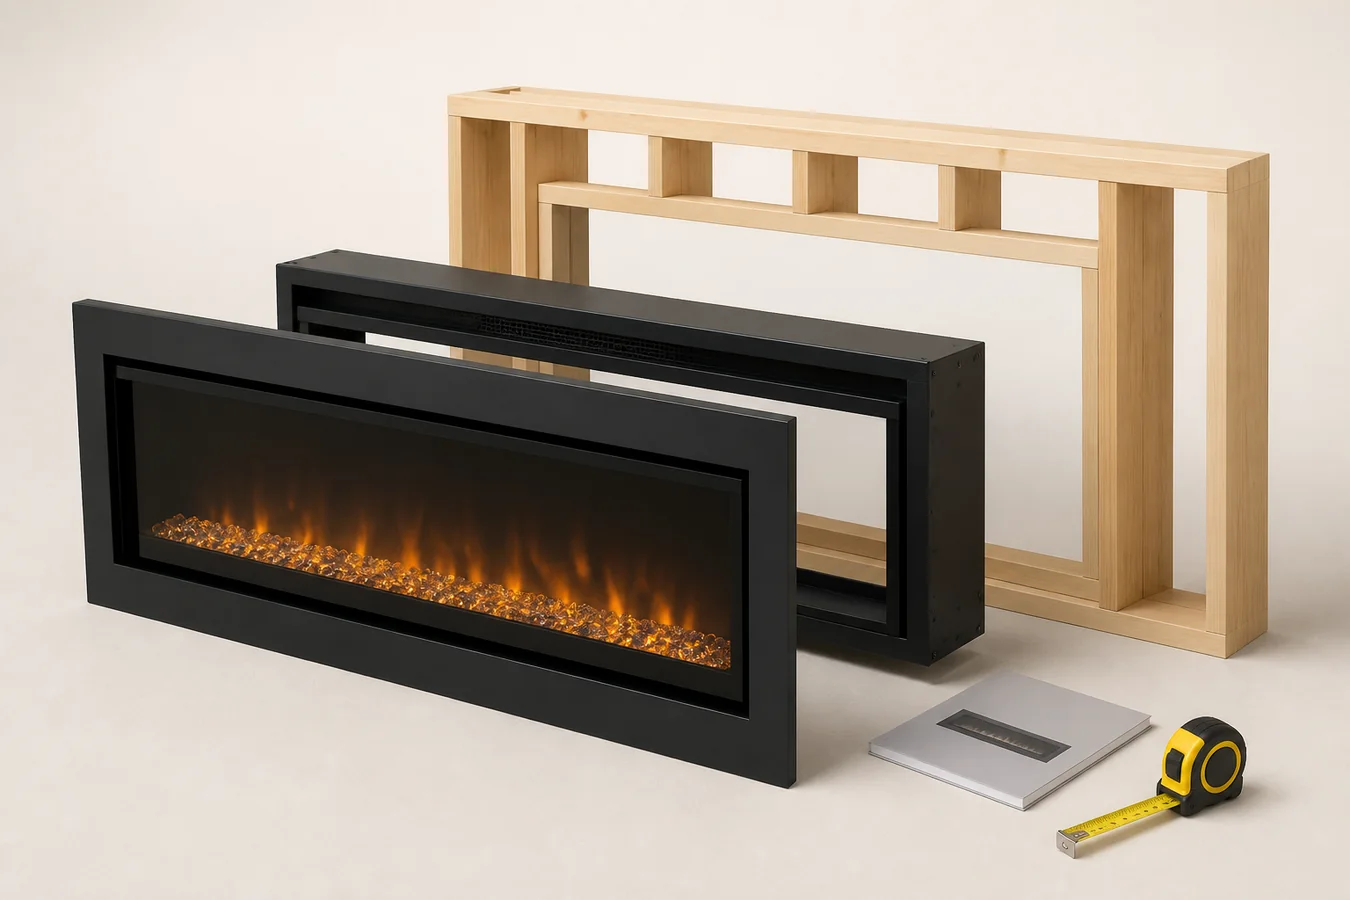
A “50-inch” electric fireplace does not need a 50-inch framed opening. Touchstone’s current page for model 80036 separates the three layers: 48 3/4 inches for the wall opening, 48 7/16 inches across the metal firebox and 49 3/4 inches at the finished front. Those are three rectangles with three different jobs.
There is a fourth problem: the current product page gives that rough opening a depth of 5 1/2 inches, while the Sideline Elite manual, revision 20250312, shows 6 inches for the same model. Do not average the numbers or quietly choose the shallower wall. Use the current installation manual as the framing authority, keep the conflict in the project record, and confirm the exact appliance and current document with the manufacturer or responsible installer before the wall is closed.
That is the useful meaning of an electric fireplace framing plan. It is not a reusable lumber diagram. It is a translation of one exact model, one approved installation path and one real wall into a set of instructions that the builder and electrician can challenge before finish work hides the decisions.
One model can give you four different rectangles
The number in a product name is usually a family or marketing size. It helps you browse, but it may describe neither the metal body nor the opening the wall needs.
| Rectangle | What it describes | What it can decide | What it cannot decide |
|---|---|---|---|
| Nominal size | The size name used to group or market the model | Which product family you are reading about | Framing width, trim coverage or viewing area |
| Finished face | The front frame, glass or trim visible after installation | Visual coverage and how the appliance meets the finish | Whether the metal body enters the cavity |
| Body or firebox | The appliance housing that occupies the wall | Physical envelope and insertion path | The manufacturer’s required construction opening |
| Rough opening | The framed width, height and depth assigned to a named installation method | The opening to transfer into the build plan | Structural design, power, airflow, finish or service approval by itself |
Touchstone’s current model 80036 page makes the distinction visible. The same page assigns 48 3/4 inches to the wall opening, 48 7/16 inches to the firebox and 49 3/4 inches to the finished face. The useful number is not the largest or the smallest; it is the one whose label matches the decision in front of you.
The same discipline applies to height and depth. A face can cover an opening without the body having enough depth. A body can enter the opening while the finish lands on a flange that was meant to remain exposed. Before you draw the wall, use the electric fireplace specifications guide to separate overall, body and required-opening fields. Then bring only the fields for the chosen installation path into the framing record.
Copy the installation path before any dimension
A rough-opening table is not free-floating permission to build a cavity. Read the heading, figure and installation section around it. The same product family may describe a surface mount, partial recess, full built-in or existing-fireplace insert, and each path can assign different hardware, exposed depth, electrical location and removal sequence.
The Modern Flames Orion Traditional manual shows why the path belongs above the numbers. It provides model rows for built-in framing and a separate existing-fireplace insert section. The two sections may repeat minimum dimensions for a named model, but their project relationships are different: one fastens into a new framed opening, while the other enters an existing firebox. Matching numbers do not merge those projects.
If the manual supports more than one wall relationship, settle that choice first in the recessed versus wall-mounted electric fireplace guide. This page begins after that choice. Its job is to turn the selected path into a build handoff, not to make an unsupported method fit because the wall is already open.
Write the path in full beside the model number. “Recessed” is often too vague. A useful line looks more like this:
Touchstone 80036 — Sideline Elite manual rev. 20250312 — recessed installation — rough-opening table on page 17
If the retailer page, dimensional drawing and manual use different model suffixes or methods, the line is not ready. Resolve the identity before copying any value into a framing drawing.
Build the framing transfer sheet
The transfer sheet is the bridge between product research and construction. It does not design the structure. It makes every appliance requirement visible to the person responsible for that part of the wall.
| Field | Copy from | Record for the project | Hold the wall when… |
|---|---|---|---|
| Exact identity | Nameplate, order and current manual cover | Brand, full model/configuration, region and manual revision/date | The product and document cannot be matched exactly |
| Installation path | Named manual section and figure | Surface, partial recess, full built-in or existing-fireplace insert | The planned method is absent or described for another model |
| Rough opening | Table or drawing for that path | Width, height and depth with the manufacturer’s labels and units | A body/overall dimension is being substituted for the rough opening |
| Face, body and trim | Product drawing and approved trim information | Finished coverage, body envelope, flange/trim overlap and insertion route | The unit may fit but the finish cannot land as documented |
| Wall and support | Manual location, fastening and wall restrictions | Wall type, supporting surface, fastener points and person responsible for structural review | A load path, existing stud change or manual restriction is unresolved |
| Electrical path | Exact wiring section | Plug or hardwire, voltage/current, termination location, cord/service route and electrician handoff | The source, circuit or connection method is assumed from another model |
| Heat and air path | Intake/outlet drawings and clearances | Open air path, front separation, insulation/vapor conditions and finish boundary | Framing or finish blocks a documented opening or condition |
| Front, glass and media | Installation and assembly sequence | What must come off, when it returns and the clearance needed to handle it | The finished reveal prevents required removal or reassembly |
| Future service | Manual/service access and retrieval path | How the appliance, controls and connections can be reached later | Finish turns a serviceable unit into a sealed object |
| TV and wall equipment | Exact TV/mount plan plus fireplace manual | Separate blocking/load route, vertical stack and cable path | Fireplace framing is being asked to carry an unverified TV load |
Do not erase a source conflict by choosing the convenient value. For the current Touchstone 80036 example, write both rough-opening depths in a notes column: product page 5 1/2 inches; manual revision 20250312, 6 inches. The installation manual controls the framing handoff, but the mismatch still deserves confirmation against the current physical unit before custom finish is cut. EcoSmart’s current Motion framing support makes the same practical point: measure the appliance and verify it against the rough-in before cutting custom finishes.
This record also prevents a common sequencing mistake. A builder may receive only the width and height, while the electrician receives only a product link. Neither sees that the outlet, junction point, fastener, glass-removal path and finished edge are competing for the same small cavity. Put them on one sheet while they can still move.
Resolve the wall and power paths before they disappear
The fireplace manual can reject a wall even when the opening dimensions work. Touchstone’s Sideline Elite revision 20250312, for example, tells installers to recess that series only in a non-load-bearing wall. That is a rule for the named manual, not every electric fireplace. Its value here is to show why “wall type” must be a filled field rather than a late question.
If you do not know whether the proposed work changes a load-bearing or exterior wall, pause the fireplace layout and give the location to the responsible builder or structural professional. The same applies when the cavity contains plumbing, ducts, wiring, insulation or a vapor-control layer. A fireplace article cannot see the wall or approve changes to it.
Power needs the same early handoff. The cited Sideline Elite manual permits a grounded plug connection or hardwiring for the series, assigns hardwiring to a qualified electrician, and specifies its own circuit and connection conditions. Another model may be plug-only, hardwire-only or dual-voltage. Record the exact permitted path and termination location before the cavity is finished. The plug-in versus hardwired electric fireplace guide helps classify that product field; it does not replace the electrician’s site decision.
Do not let “hidden outlet” become the entire plan. The cord must reach without an extension or pinch, the plug or disconnect must remain serviceable as required, and the fireplace still needs to be removable by the documented route. If the intended finish hides the only connection or traps the cord behind a fastening point, change the layout while the frame is open.
A television introduces a second structure, not an extra line in the fireplace opening. Its mount, blocking, cables, viewing height and heat relationship need their own confirmed path. Use the electric fireplace and TV wall plan to test the vertical stack, then have the responsible person design the TV load path separately. Never treat the fireplace’s header or side framing as TV support merely because it occupies the same wall.
Dry-fit, test and remove what the manual tells you to remove
Paper dimensions are not the final proof. Shipping variation, a wrong suffix, a revised enclosure or a finish sample thicker than the drawing assumed can surface only when the actual pieces meet.
Use the exact manual to set the pre-close order. For the current Sideline Elite series, Touchstone tells the installer to test the fireplace before installation, remove the glass before recessed installation, fasten the appliance with the supplied locations, place the media afterward and then reinstall the glass. Modern Flames similarly ties its Orion built-in sequence to glass removal, exact rough opening, fastening, media and glass replacement. Those examples do not create one universal sequence; they prove that access and order are part of the model contract.
Before irreversible finish work:
- Match the carton/nameplate, ordered configuration and manual identity.
- Inspect and measure the actual appliance, approved trim and any separate installation kit.
- Follow the manual’s permitted pre-install test, glass/front/media removal and handling instructions.
- Place or dry-fit the unit only as the manual and responsible trades allow, confirming that fastening points, power termination and air openings remain reachable.
- Check the finished-material sample against the flange, reveal and removal route—not just against the rough stud opening.
- Record who accepted the wall, electrical and any TV/load decisions before the cavity is covered.
If the appliance cannot be tested or dry-fitted at that stage, write the limitation into the handoff and delay the finish that would make correction expensive. “We will make it fit later” is not a verification method.
Close the wall only when the handoff has no borrowed numbers
Use the final state of the sheet to decide whether framing can move forward.
| Result | What must be true | Next action |
|---|---|---|
| Ready for responsible build review | Exact identity/path, rough opening, wall restriction, power, air/heat, finish and removal/service fields are sourced and the actual product check is planned or complete | Builder/electrician review the same versioned handoff before closure |
| Manual mismatch | Model, suffix, region, manual or installation method does not match the product on order | Obtain the applicable document or change the candidate |
| Dimension role unresolved | A nominal, overall or body value is standing in for a required opening, or current owners conflict | Ask the manufacturer to confirm the exact model/path and preserve the answer |
| Electrical path required | Connection method, voltage/circuit context or termination/service route is missing | Resolve the exact product path with the responsible electrician before finish |
| Structural review required | Wall type, member changes, support/fastening or another load is unresolved | Stop the fireplace drawing at the opening boundary and obtain responsible structural review |
| Finish or service-access hold | Trim coverage, finish thickness, glass/media removal, fasteners or future retrieval cannot coexist | Change the reveal, finish or model before closing the cavity |
The handoff is complete when another responsible person can trace every controlling value to the exact appliance and document you intend to install. Until then, the open wall is not a delay; it is the last inexpensive place to correct the plan.